Innovative Wall Storage: Maximize Space with Hinged Panels
Last Updated May 2024
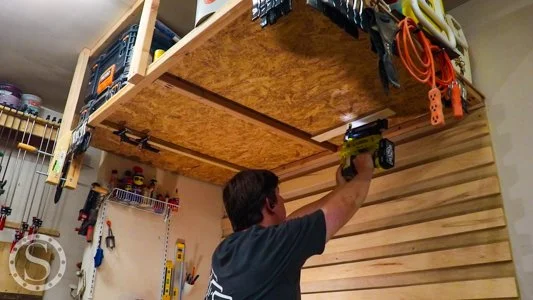
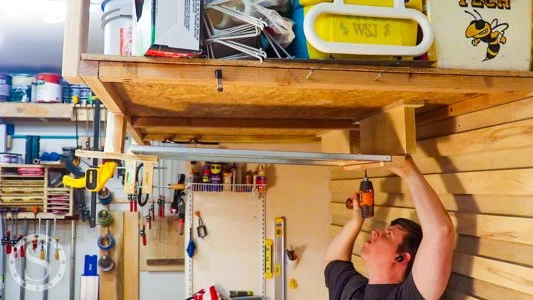
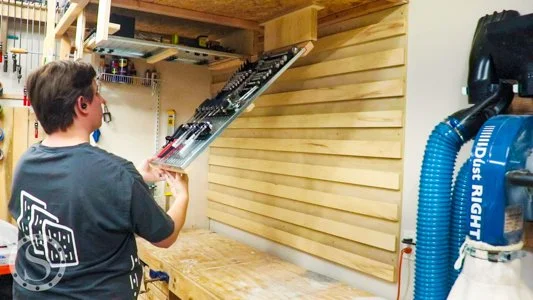
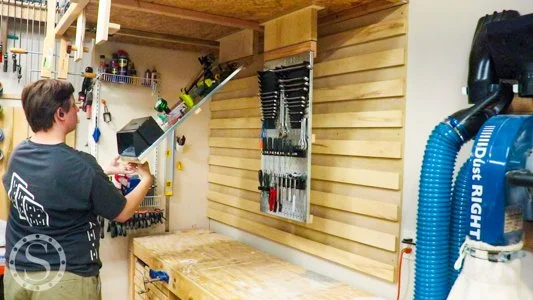
Working in a small shop or workspace can be challenging. One of the biggest challenges that is essential to tackle is organization. These hanging, hinged Wall Control panels add half a wall to my tool wall by utilizing wasted space above my workbench.
I have free plans for this project available here.
Affiliate links are used on this page. See my disclosure page for info on affiliate programs.
Tools Used
Materials
2x4
3/4” Plywood
Optional for Dowel Lock
1’ Dowel
Hardwood Scrap
Wall Control Panels & Accessories Used
Provided by Wall Control
1 - Mill 2x4 Square
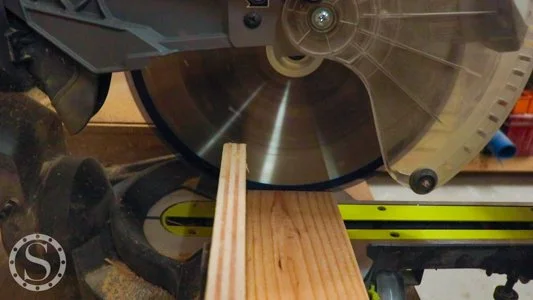
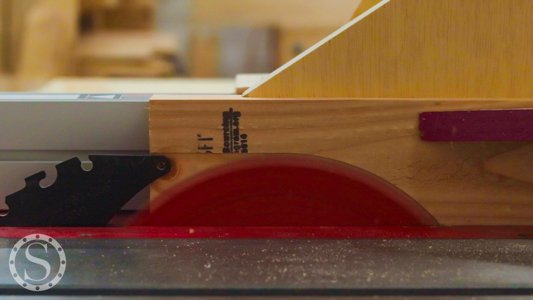
I cut it to an oversized length since we’re using 2x4 for the cleat. This will help keep the milling process quick and smooth. Most 2x4s are rough and really 1 1/2” x 3 1/2”. I used my Dovetail Clamp Jointer Sled to square one short edge. I could then run the other side through the table saw to get the piece to 3” width. I also personally like to clean up the faces but shaving them down. Two passes on each side at the table saw get the thickness down to 1 1/4” (a thickness planer would work great here as well).
2 - Cut Rabbet in 2x4
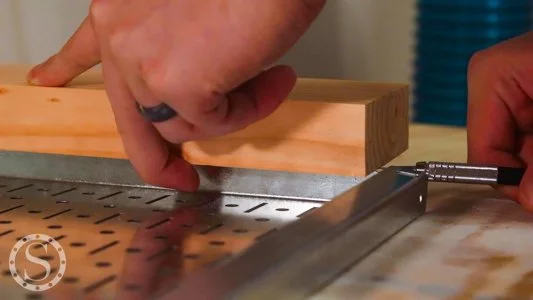
With the 2x4 square, we can move on to joinery. I prefer to make relative measure marks on my pieces instead of attempting to measure precisely, then mark precisely whenever possible. I made sure the rabbet (notch) we will cut was sized so it would clear the wall control panel lip and screw holes.
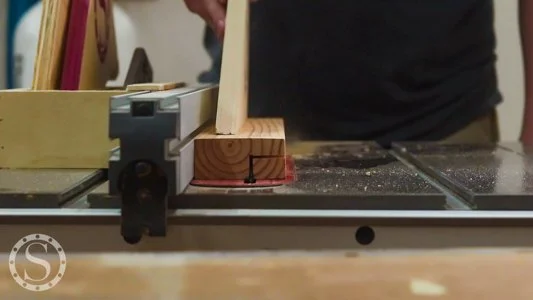
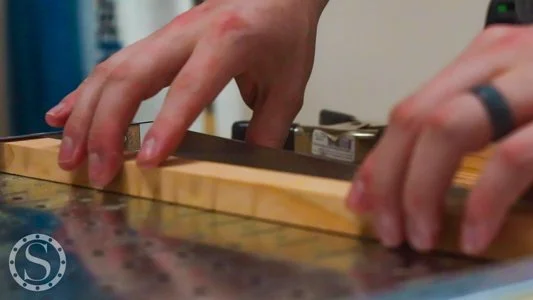
There are several ways to cut out a rabbet. A router bit would work, as would a dado stack in the table saw. However, we want to keep the wood off-cut from the rabbet for the installation. To keep it, I made two cuts at the table saw, one horizontally and one vertically. If you do not have a table saw or do not feel comfortable making this cut, you will need to use some scrap 2x4 to make the off-cut piece.
After the joinery has been cut, all pieces can be cut to final length. I do this after the joinery is cut to any tear out is cut off as well.
3 - Install 2x4 Cleat to Panel
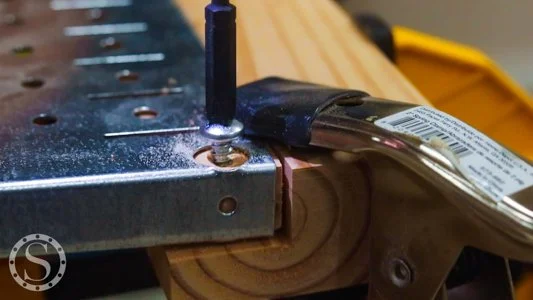
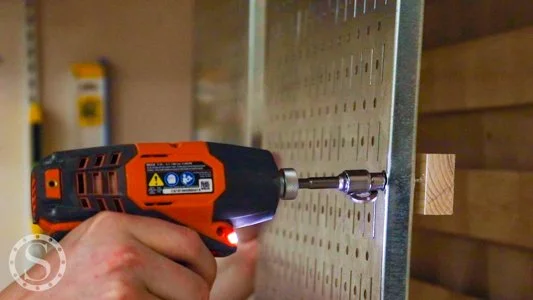
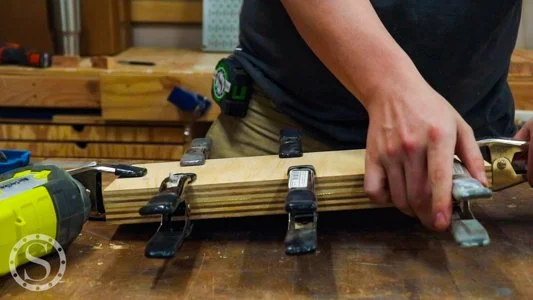
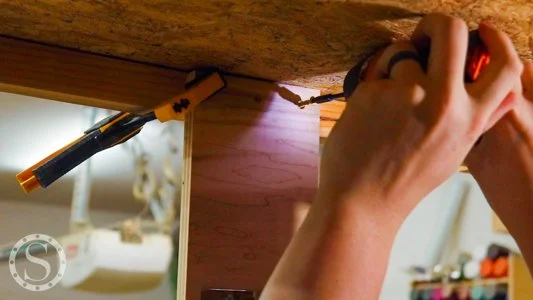
The small off-cut from the rabbet is sized perfectly to fit behind the Wall Control panel’s back lips. Once everything is secured, this will let the 2x4 wrap around the panel, creating a strong bond. From the front, clamp the assembly together and drill pilot holes in the 2x4 through the panel’s screw holes. Drive in screws through the holes.
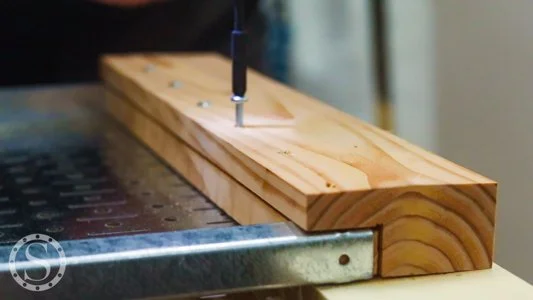
Then, from the backside, pre-drill several holes through both the main cleat and inset off-cut. I used some tape on the drill bit to ensure I did not also drill through the Wall Control panel. Drive screws to complete the cleat attachment.
4 - Install Panel Cross Pieces
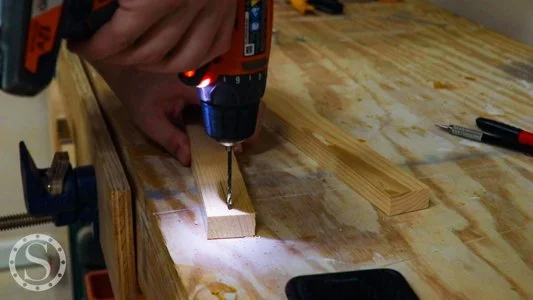
I did this at the end, but I wished I had done it sooner. Add the cross pieces to the middle and bottom sections with the panel assembly on the bench. I found it easiest to mark both sides, pre-drill both sides, half-drive one side’s screws, completely drive the other side’s screw, and finally complete the driving of the original side. This helps prevent the end grain from splitting and ensures both sides are aligned as desired.
5 - Cut Plywood to Size
We must base our height measurement on the deepest accessory we want to put on the panel(s). However far the deepest accessory is, I highly recommend using the measure for the Top Offset, excluding the Top Mount. The Top Mount will act as a buffer for the accessories.
6 - Assemble Ceiling Offset
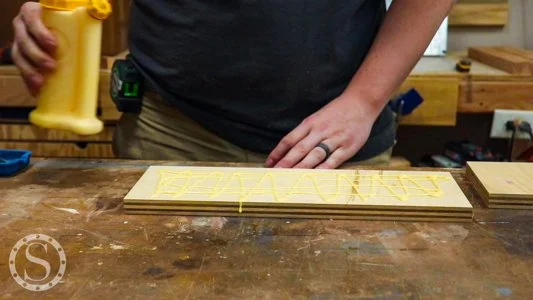
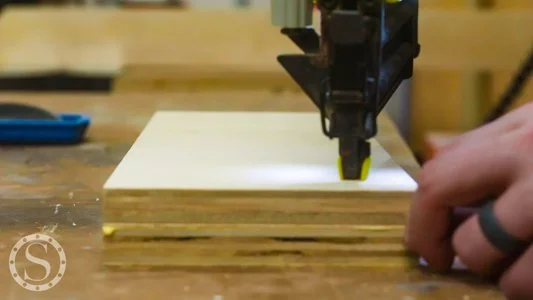
After the plywood has been cut to size, assemble the Top Offset with wood glue and brad nails. After the glue has dried and been cleaned up, remove any glue squeeze-out, then drill at least 5 pocket holes, equally spaced across the offset.
7 - Install Assembly to Ceiling
If you are like me, I have my Hanging Wall Control Panels hanging from my garage overhead storage. If you are installing it on a ceiling, install it into studs or drywall anchors. The top mount should be installed in overhead storage with wood glue and brad nails. Then, install the Top Offset assembly to the Top Mount with wood glue and pocket hole screws. Make sure to center the assembly before driving in the pocket hole screws.
Cut the hinge to the entire width of the panel. Use the hinge to mark the ceiling offset screw locations, then pre-drill to prevent any splitting. Install the hinge to the top of the panel assembly. Make sure that the hinge faces the front of the panel. Prop the bottom of the panel up so it is horizontal and secure the hinge to the Top Offset with screws. I used longer screws than were included with the hinge from the store.
8 - Make the Locking Mechanism
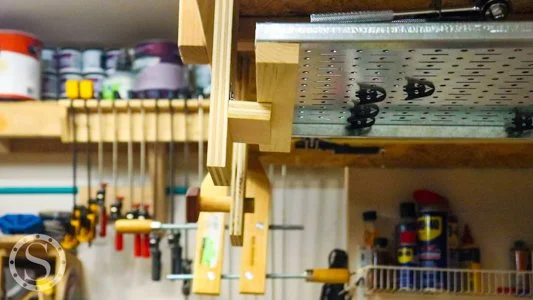
Since I’m mounting everything underneath overhead storage, I could secure the locking mechanism directly to the front of it. If you mount panels to the ceiling, you must use a solution similar to the Top Mount. Mount a board to the ceiling into studs or drywall anchors. Then, install the mechanism on the board with pocket holes.
Option 1 - Hinge
The hinge option allows the panel to be put up so that the rest pivots out of the way but closes once the panel clears it.
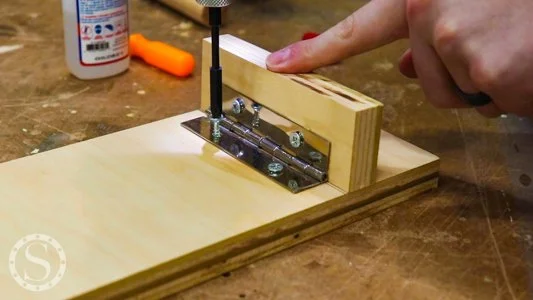
Clamp the lock main and hold the Wall Control panel in the desired up position. Mark where the bottom of the panel should rest (make sure the mark is square). Position the hinge rest so the top lines up with the mark. While in position, mark for the hinge screw locations (hinge goes on top) and drill pilot holes. Install the hinge. If it moves on you too much, use some ca glue to keep it in place until the screws can be driven in. Install the whole mechanism in the center of the raised Wall Control panel.
Option 2 - Dowel
The dowel option is better for more heavily weighted panels, but it requires two hands to raise. Consider what you want to put on the panel before choosing between the two locking mechanism options.
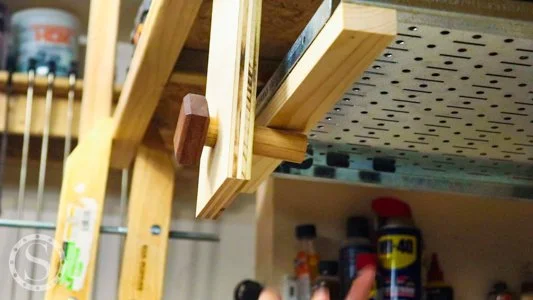
Mark the lock main the same way as with the hinge option. I recommend a 1” dowel, so the 1” hole needs to have its top meet the mark. Use a forstner bit to bore the hole so it’s clean on both sides. Cut the dowel to size so that it has plenty of contact with the panel, extends through the main mount, and has a fraction of an inch extend past. I used a small mahogany scrap to cut a diamond and chamfered the edges on both sides. Once cut, glue it to the dowel. While the glue dries, install the main part so it is centered on the panel.
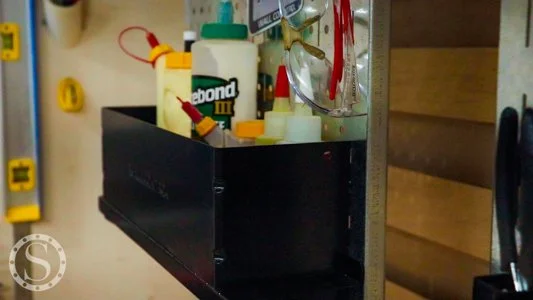
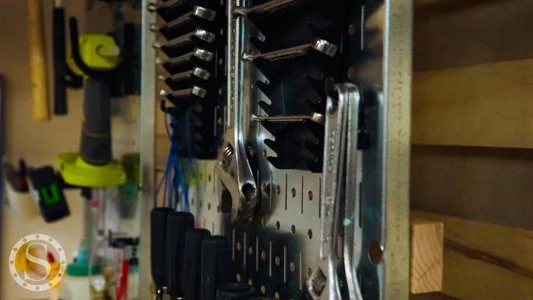
Small shops require space to be maximized. Two of the most prized spaces to maximize are floor-space and wall space. These hinged, hanging Wall Control panels increase my tool wall space by 50%, essentially without taking up any space at all! The space it does take was completely wasted and unusable before. I love these and want to find more unique ways to incorporate Wall Control panels in my shop.
