Transform Your Pantry with Custom Solid Wood Shelving
Last Updated: May 2024
Prefabricated wire shelving is terrible, and we all know it! The wire shelving in our pantry is too close together and not level. It has had things fall through it, and it looks cheap. By upgrading to solid wood shelving, we can adjust the spacing. The extra strength of the wood will also let us float the shelves without diagonal supports, giving us even more flexibility and space.
Affiliate links are used on this page. See my disclosure page for info on affiliate programs.
Tools Used
Palm Router (current recommendation linked)
Stud Finder & Magnet
Optional, but Helpful Tools
Materials
3/4” Plywood
3/4” Thick Poplar Boards
White Trim Paint
1 - Cut Plywood to Size
While we need many individual pieces, only a few dimensions and a handful of different parts are required. Having fewer dimensions lets us set the table saw fence once and cut multiple pieces without moving, keeping all the parts consistent, even if a measurement is slightly off.
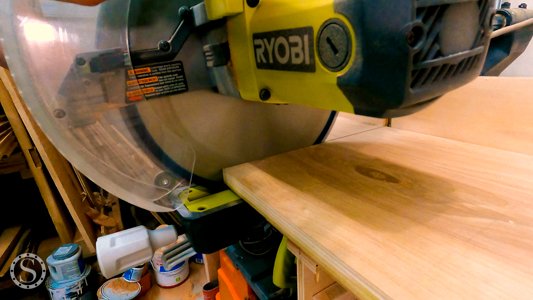
We’ll start by ripping all the shelves to width at the table saw. Since we’re using full sheets of plywood, rip about 1/4” - 1/2” oversized at first. The little extra lets us break things down to a more manageable size, and then we can rip to the final width when we have significantly more control than with the full sheet. With the large off-cuts, rip the supports to the final width.
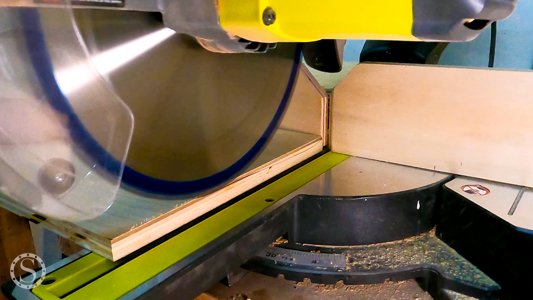
Shift to the miter saw and cut the shelves and supports to the final length. Use a stop block to cut each piece to your desired size. Start with the largest pieces and work your way down the list. Cutting large to small will let you get the most out of the wood and have bigger scraps available for extra pieces or your scrap bin.
Before moving on, dry-fit everything in the pantry. I’m glad I did because I was 1/16” long for one of the shelf pieces and 1/4” long for the other. Shave your shelves as needed.
2- Assemble Shelves
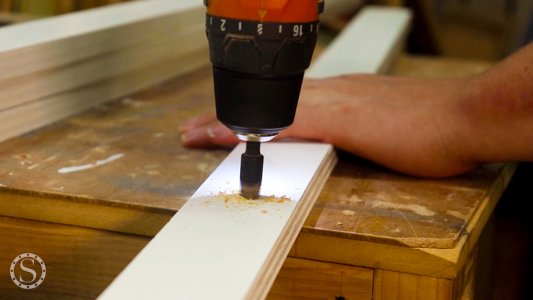
The shelves will go in a corner and make an L shape. There is a long piece that will go the entire width of one wall and a small piece that will connect to the long piece and span the gap along the other—drill pocket holes on the short end of each short shelf. If your plywood has one side that looks better than the other, drill the holes in the “bad” side. I drilled three holes in each side.
Assemble the short side to the long side with glue and screws. Ensure your L is oriented correctly if your walls are not the same size. Mine was about an inch shorter on the short shelf side, so I ensured the long shelf was on the left and the short shelf connected on the right.
Once your pocket hole screws are driven in, insert a pocket hole plug into each hole with glue and hammer it snug. This will help hide the holes later.
3 - Cut Poplar to Size
Some projects look great when the layers of plywood show. However, those layers do not accept paint too well. We’ll cut some poplar so it covers the edges. The hardwood will also add some strength to the edges, which will be helpful with as much use as our pantry has.
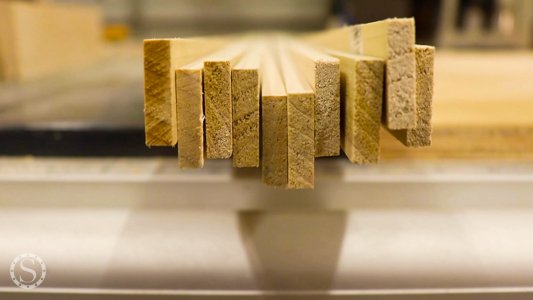
We want to cut our edge banding oversize at first to ensure the most flush connection possible. Rip the poplar to 1” at the table saw. Flip the piece so it is 1/4” thick. If you have a bandsaw and planer, you can cut more safely at the bandsaw and then plane to the final thickness. Only make a thin rip like this if you feel comfortable doing it.
Cut the poplar strips a little longer so you have plenty of room. You can do this all at once at the miter saw or piece-by-piece, as I did, and handsaw each piece. The handsaw takes a second or two longer to hand cut than the miter saw.
4 - Install Edge Banding
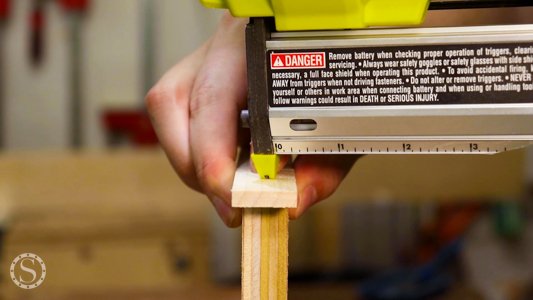
The extra width and length will help us cover the plywood edges fully. Install with plenty of glue, pin nails, and blue tape. The nails will keep everything in place, and the tape stretched tight will provide additional pressure. The combination should ensure a good bond.
We’ll also cut some shorter edge banding for the ends of the short shelf supports since these will be seen (at least according to the original plan. If you think you’ll need to add some trim on the ends as I did, skip this step).
Once the glue has dried, we need to cut the edges flush. Put a flush trim bit in your palm router for the long edges and cut the edges flush. Keep the ends a little long so that any tear out from the router on the ends will be on the part about to be cut off. You won’t be able to use the router for the inside corner, but that’s okay.
If you have an oscillating multi-tool, grab it for the remaining flush cutting. If not, grab a flush-cut handsaw. You’ll need to flush-cut the ends of the edge banding for the shelf ends, inside corners, and all sides of the short shelf supports. I would also recommend flush-cutting the pocket hole plugs to make sanding take less time.
Since we’re painting, grab some wood filler and fill any small gaps in the shelf joint, edge banding, and pocket hole plugs. Filling the gaps will make the paint look better. Once the filler has dried, give everything a good sanding. I started with 80 grit around the filler and jumped up to 220 grit for everything else.
5 - Paint Shelves
It’s finally time to make everything start looking good! I used some white enamel trim paint for the shelves and supports. The supports will only need paint on one face and the short and long edges. The unpainted faces will go against the wall, and unpainted long edges will go against the shelf.
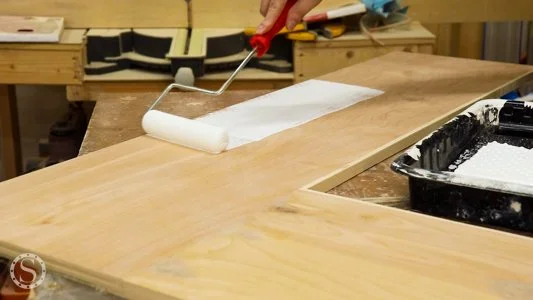
Wipe up all the sawdust off your pieces before applying two coats of paint. I rolled all the pieces, but a regular paintbrush will work fine. If you need a little extra, don’t worry about it for now. We’ll do touchups later and can put another coat on once we install the shelves.
6 - Prep Pantry for Install
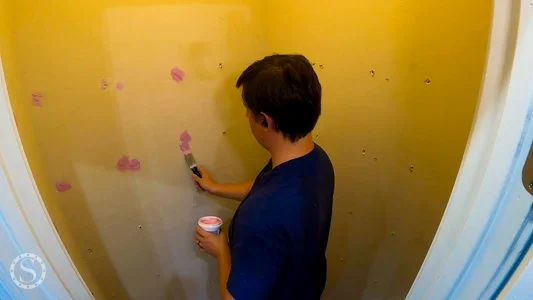
Before we can install new shelving, we need to remove the existing shelves. Remove everything and patch any small holes with drywall spackle. If you end up with larger holes, you’ll want to repair them with drywall patches, mud, or tape.
Smooth out the spackle with a sanding sponge. You’ll need to touch up the wall paint over the spackle at a bare minimum. However, this is also a great time to apply a fresh coat of paint to your entire pantry. We painted it white to cover the weird yellow, which also helped make the room seem larger. You’ll want two coats to be safe whether you touch up or entirely repaint.
7 - Install Shelves
Once the paint is dry on your walls and the shelves, take your stud finder and locate the studs behind your wall. I like to verify each stud’s location with a magnet as well. The magnet will be attracted to the drywall screws that are in the studs. I find this is helpful in “cookie cutter” homes like ours to ensure the stud finder did not find a pipe in the wall (don’t ask how I know that…).
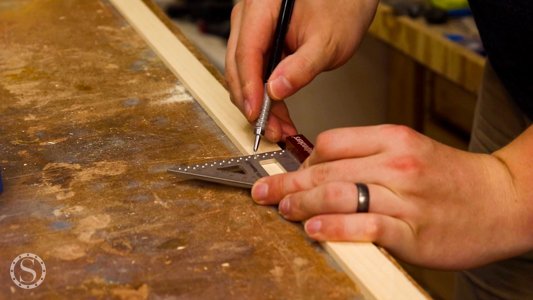
With your studs located, take a scrap and cut a spacer on one side for how far you want your supports to be from the wall. Use it to mark one shelf support for the studs on the wall. Use that support to mark the others. Pre-drill and counter-sink the holes on each long support.
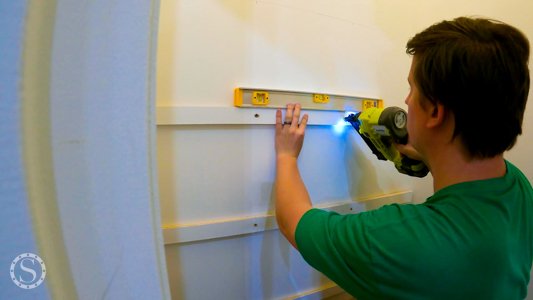
Back in the pantry, level the shelf support and use your drill bit to mark the hole locations on the wall while using your level to make sure everything is square and level. Pre-drill through the drywall and into the stud. Then, re-level your support. I find it’s helpful to tack it in place with some brad nails to give you an extra set of hands while you secure to the studs with 3” screws.
Place one shelf on the top supports, then repeat the process above to install the long shelf support on the adjacent wall. You will need to do this after the shelf is in place to have room to position the shelf.
Remember that you might need to place a few shelves before installing the final supports due to room constraints. Once all the shelf supports are in place, secure each shelf to the supports with 1 1/4” screws. You will also need to install the short shelf supports. Use a level to double-check everything before mounting the short supports.
8 - Touchups
Most walls in homes are not square and are bowed. If you were a master craftsman, you would have perfectly scribed each shelf to the wall.
I don’t know about you, but I am not a master and must adjust. The gaps on my edges were a little larger than I would have liked, so I cut some of my extra edge banding into trim to go around the short edges of the shelves. The banding hides the gap and makes things look intentional. I installed these with wood glue and pin nails. The glue doesn’t need to be structural. Just keep everything in place if it’s bumped aggressively.
I also added some filler to my screw holes that I came back and sanded flush. I put a bead of caulk along all the edges to make everything look completely flush. While I did get white caulk, it was slightly different than my trim paint. I touched up the paint on all the shelves, including two coats on the new trim and any areas where I added filler. One coat along the caulk seams also helped blend everything even more.
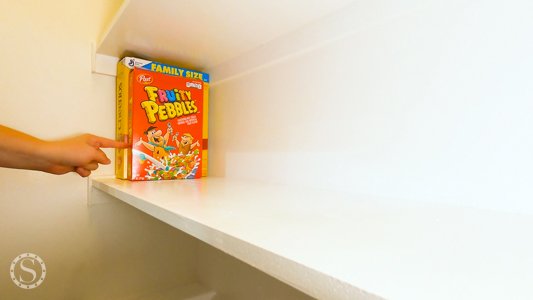
We love our renovated pantry! Renovating the pantry has been on our project for two years. We solved several problems with one project that looked better, too. We increased the distance between the bottom two shelves to give us more room, leveled all the shelves in both directions, used solid wood to keep items from toppling, and added an extra shelf on top for even more storage. We’ll be loving this pantry for years to come. How would you organize a new pantry?


