Maximize Shop Space with a Custom Lumber Rack
Last Modified: May 2024
I have had a secret problem behind the camera for a long time. I’ve been storing material all over my shop in any nook or crevice I could fit it. I originally built a lumber cart, but my shop needs have changed, and now I need something more permanent with more storage options that are somehow also more space-efficient.
To make things easier, I am using the shop side of my In-Garage Shed as a base for the lumber rack. If you don't want to build the garage shed as well, all of this could be built directly on a wall, but we are also very happy with how that is working out.
Affiliate links are used on this page. See my disclosure page for info on affiliate programs.
Tools Used
Table Saw (optional)
Drill *
Impact Driver (optional) *
Reciprocating Saw (or hacksaw)
Brad Nailer (optional)
* The 12v Drill I used doesn’t appear to still be available.
Materials
2x4 Studs
3/4” EMT Conduit
3/4” Plywood
6” Lag Screws
Large Washers
1 1/4” Deck Screws (optional)
1 - Cut 2x4s to Length
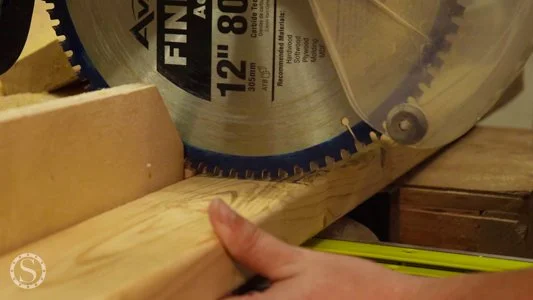
Cut all 2x4 Studs to their final length with your miter saw. If you're building onto the in-garage shed, you'll only have two different sizes to cut.
I picked my height to give our garage door an inch or so of clearance. Before moving on, I opened the garage door and triple-checked that the door could open without the 2x4s interfering.
2 - Drill Conduit Holes
With one 2x4 in place, decide where you want the top and bottom shelves to be and mark them. Then, evenly mark where the other shelves will be. Some people like more shallow shelves, but others (like me) want extra room for larger pieces if necessary. Repeat this for the other sizes of shelves as well, and extend your marks across all 2x4s.
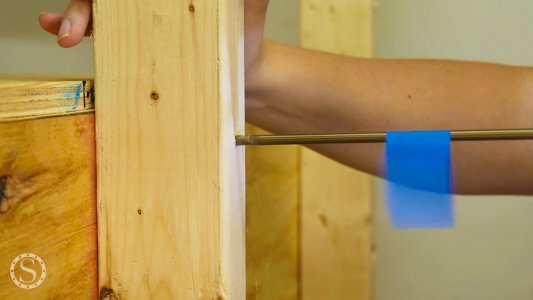
We’ll want to drill the holes so the conduit pipe is slightly tilted (I drilled at 5 degrees off-square, or 85 degrees). I used a drill guide, so I needed to create a quick jig from scrap to ensure I drilled the holes centered and at the same angle. If you have a drill press, you can set up something similar on it. Set up your jig and drill all the holes.
3 - Cut Conduit to Size
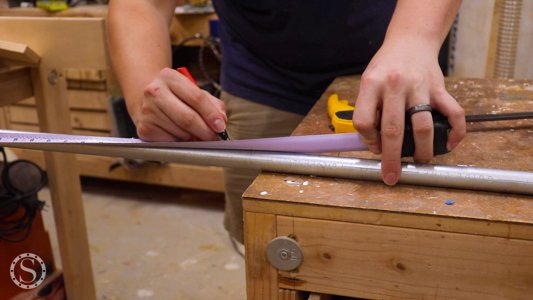
To make things easier, I made sure I could cut the conduit to the same size. My holes were about 2” deep, and I wanted 12” shelves, so I cut them all to 14”. You can use just about any metal-cutting tool for this, including a hacksaw, but I found a reciprocating saw with a quality metal-cutting blade that worked very well. Start by cutting one piece to size, then use the same piece to mark all others for cuts.
Once you cut all pieces of conduit to size, take some extra time to de-burr the inside of each side and file away the sharp edges on the outside ends. Your hands and material will thank you later.
4 - Install 2x4 Vertical Supports
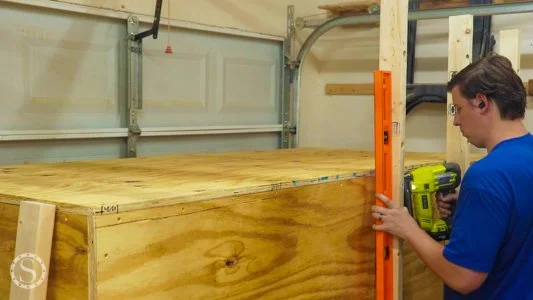
Mark even spacing for your vertical supports. Whether you are installing on a wall, an in-garage shed, or something else, make sure you’re securing the vertical supports into studs or a solid frame so it can take the weight. If you have a Brad nailer, you can make things much easier on yourself by placing the vertical supports in place so you can use both hands. Once you tack one side in place, use a level to ensure they are plumb, and tack the other side.
Drill a few pilot holes in each 2x4 support with your extra long bit. Screw your lag bolts and washers in with your socket wrench. If you have an impact wrench, you will save time. However, if you don’t have an impact socket bit, don’t use the impact because it can shatter with enough force.
Pop all your conduit pieces in place. I didn’t secure them permanently, but you could add a self-tapping screw through the side of each if you’re worried about them coming out.
5 - Cut Plywood to Size
We’ll need to cut the bins, two shelves, and bin toe kick out of plywood. The toe kick is slightly more than one sheet of plywood, but if you made the in-garage shed, you should have a large enough scrap.
I started by cutting the plywood into manageable pieces with the circular saw. Then, I cut the pieces to the final width with my table saw. Once cut to width, I switched back to the miter saw to cut to length. You can also cut the angle on the bins with the miter saw.
You’ll also need to cut notches both in the bins to go around the lag screws and side shelves to go around the 2x4s. I marked the bins by holding them up to the vertical supports instead of trying to measure and transfer them. You can also do this with the shelves and 2x4 side supports.
Use your jigsaw to cut the notches in all plywood pieces.
6 - Install Side Shelves
The side shelves should friction fit without needing any additional securing. If you do want to secure them, though, you can either use self-tapping screws into the conduit or pocket hole screws into the 2x4 supports.
7 - Install Bins
Use your pocket hole jig to drill pocket holes in the long sides of the bins. Since these won’t be under a ton of stress, you only need three or so pocket holes in each bin.
Secure each bin to the center of each tall 2x4 support stud with pocket holes and your impact driver. Like the 2x4 supports, you can use your Brad nailer to keep everything in place while you secure it with screws.
Once all are in place, you can add the front toe kick. I drilled counter-sunk pilot holes first, then secured with two deck screws into each bin. You can also use pocket hole screws if you want to use fewer different materials.
The last step is to add some eye screws and bungee cords to keep your material in the bins. Drill a pilot hole and then screw the eye in place. If you have a hook screw, you can chuck that up in your drill to drive the eye screws in quickly. Add the bungee hooks, and you’ll be ready to load it up!
One thing that will be key is ensuring you develop a sound system for what material goes where. Take some time to look at your new system and the material you already have on hand before loading it up. It will take you less time to think about this now than to load it up, change your mind, unload, and shift material around again.
I decided to keep plywood on one side of the in-garage shed, long material flat on the tall shelves, medium material vertical in the bins, medium material flat on the sides, and smaller scraps on the side plywood shelves. This will be different for everyone, but you should have plenty of options now. Have fun loading yours up!


