Creating a One-of-a-Kind Star Wars Standing Desk
Last Updated: October 2024
I’ve been working from home more often for the last couple of years and have been using a crappy folding table. It’s beyond time for a massive upgrade. So I decided to build a Star Wars standing desk because I’m a nerd, and I can.
Affiliate links are used on this page. See my disclosure page for info on affiliate programs.
Materials
Walnut Boards
Maple Boards
Scrap Plywood
Dowels
Standing Desk Legs (mine are Fully, but no longer available)
1 - Cut Down Lumber
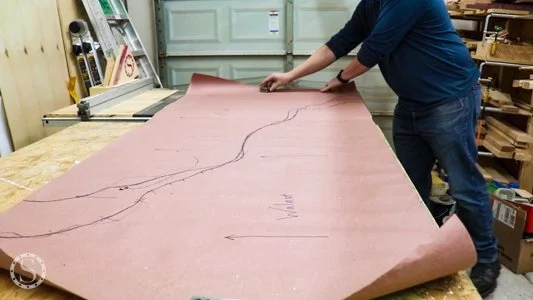
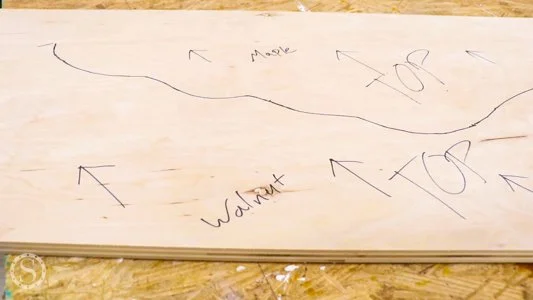
I drew the curve I wanted on a long sheet of craft paper to understand what dimensions I'd need. The paper drawing let me determine the rough lengths I would need from all the lumber.
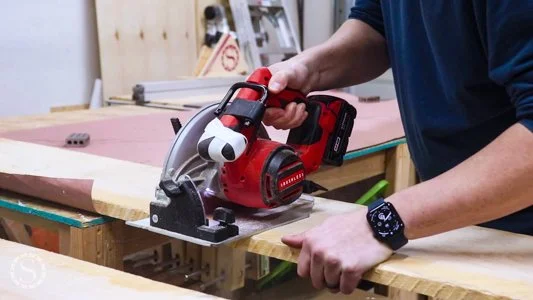
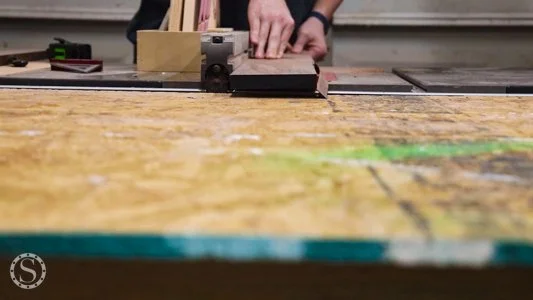
I used my circular saw to cut the wood to length and check it against my curve.

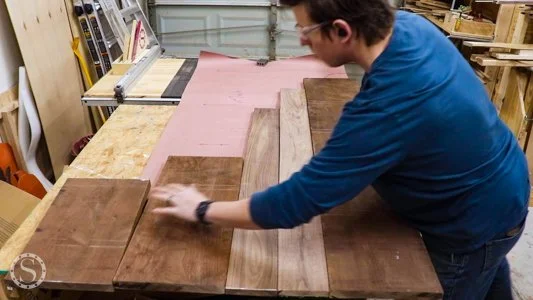
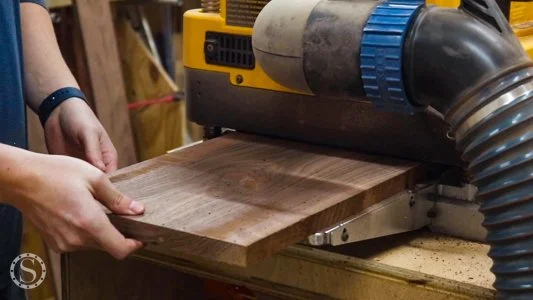
I then planed all the boards so they would be the same thickness. Finally, I trimmed the edges with my tablesaw so they were also square.
2 - Glue Up Triangle Panels
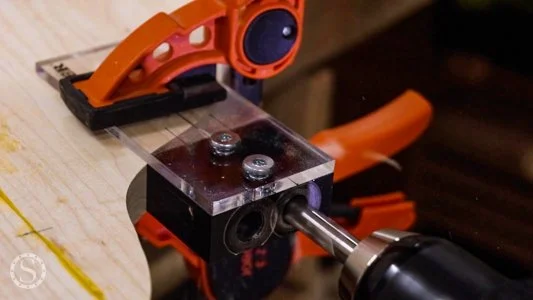
I decided to add dowels to the glue-up for added strength and to help with alignment. I started with the walnut boards, drilling the holes with my doweling jig.

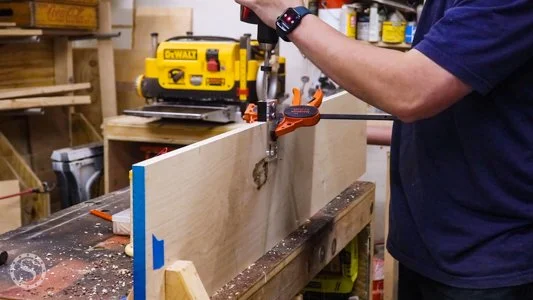
Then, I put the dowels in and glued up the boards using some of the longest clamps I had. I also did all of these steps for the maple boards.
3 - Create Curve Template
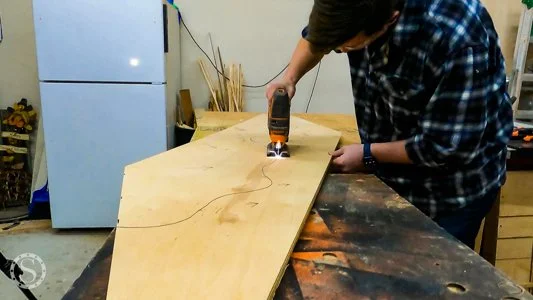
While the glue dried, I pulled out a large offcut of plywood to use as a template for the curve. I marked the curve I wanted and used my jigsaw to cut the curve out in a single pass. The single pass is essential so the pieces go back together as perfectly as possible later. I also clearly marked which side of the curve went with each panel.
4 - Cut Curve Out of Panels
After sanding the panels to 220, I marked the curve based on the template made above. Using my jigsaw again, I cut close to the line but still a bit away from it. I didn’t want to cut it perfectly, only make it easier to clean up with the router.
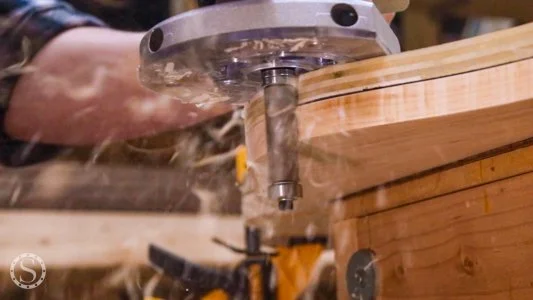
I clamped the template to the panels and then used my plunge router and large pattern bit to cut the curve on each piece perfectly. Again, I kept track of which template was for walnut and maple.
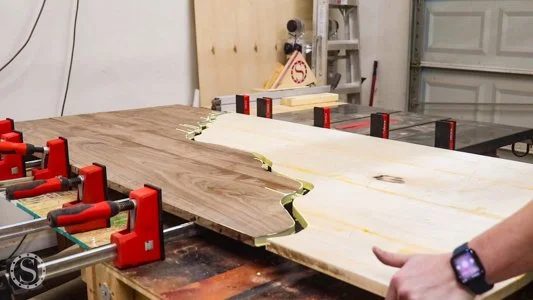
5 - Glue Curved Panels Together
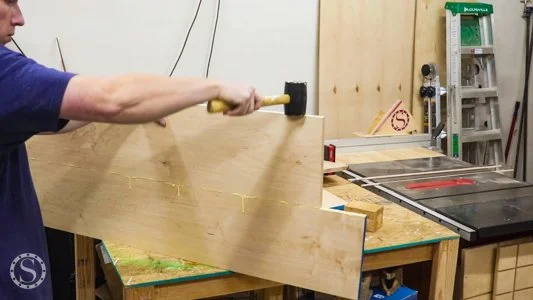
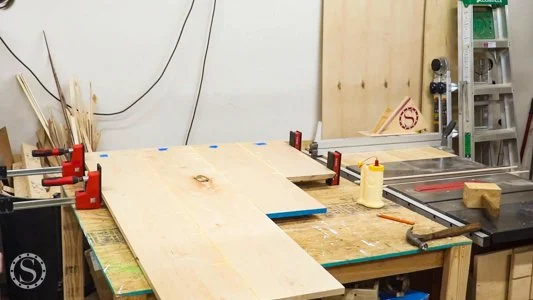
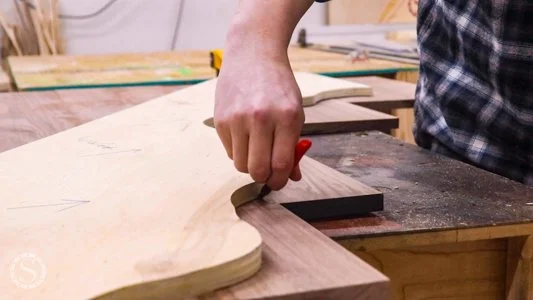
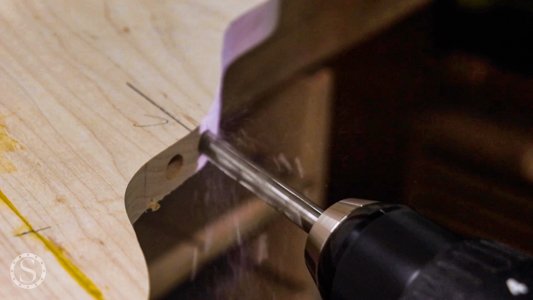
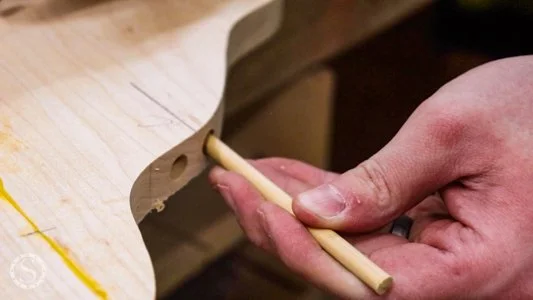
I decided to use dowels for strength and alignment here as well. The dowel jig wasn’t designed for curves, but I was able to get it to work by using the guide to get me started and then finishing freehand with the same drillbit.
However, the dowels made the glue-up more difficult. If I did this again, I would use wood glue with a longer working time. I used a mallet and some very long clamps to force everything together. It worked well, but the dowel placement could have used more thought.

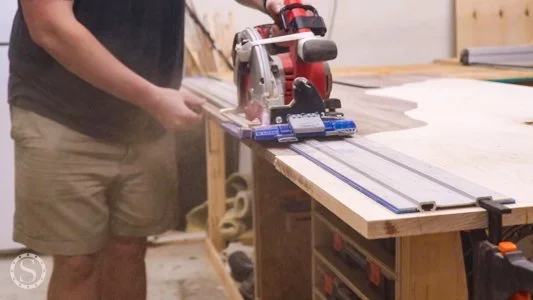
6 - Trim Desktop to Size

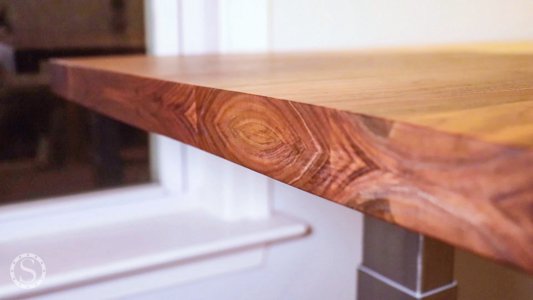
After the glue dried for a few days and I sanded everything down to 120, I marked and cut the desktop to its final size. I kept the offcuts for the sides and front so I could flip them over and glue them to the bottom. The offcuts make the desk look thicker without the whole thing needing to be that thick.
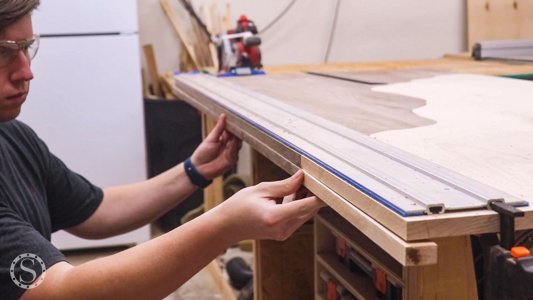

After gluing up the edges, I did one final trim to clean it up.
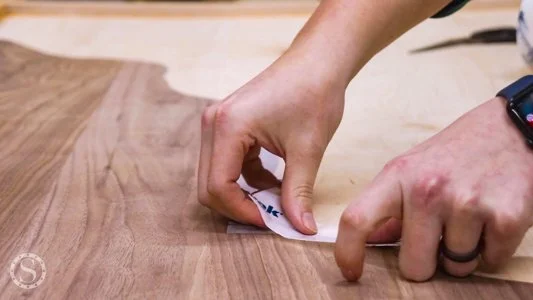
7 - Mark and Route Out Logos
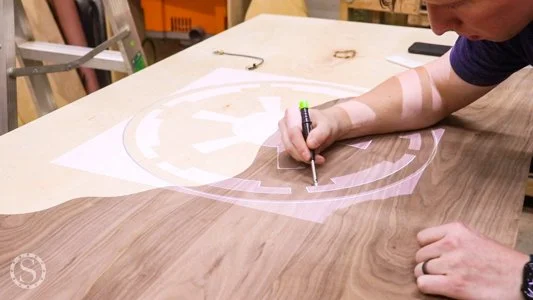
There are a few ways to mark out the logos. We already had a projector that I could use in the workshop, so I used that and traced them.
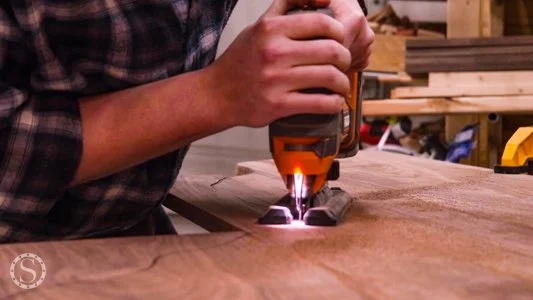
Once marked, I used my plunge router and a tiny router bit to route out the logos' edges carefully. I returned with a larger router bit to hog out the material inside.
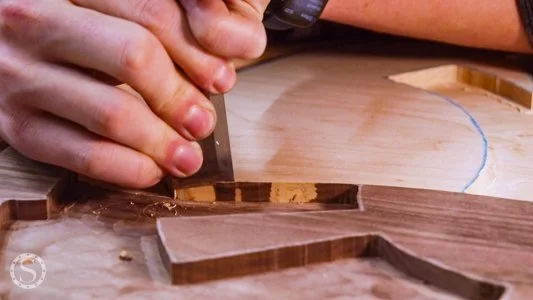
8 - Clean Up logo Inlay
Since I routed the logo by hand, I returned with a chisel, wood rasp, and sandpaper to clean up the logo inlay. I am thrilled I did this and didn’t assume that my router work was perfect, although it did take quite a while to finish.
Before moving on to the epoxy, I added some Tyvek tape to the bottom of the desk to prevent leaks. I also added hot glue around the perimeter of the logo to keep any overpour from spreading too far.
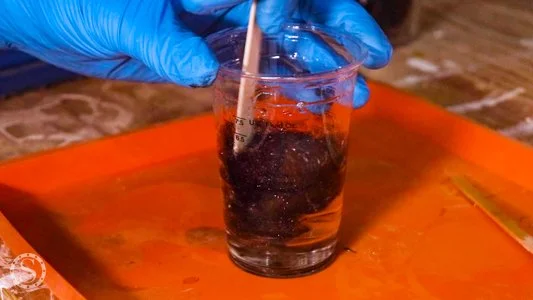
9 - Seal Logo Inlay
Thanks to a recommendation from Kimani (vanstraydesigns on Instagram), I used penetrating epoxy to seal the inside of the logo. I added black mica pigment to the penetrating epoxy for the maple side to help the red color really pop later.
Once dry, I also scuffed up the inside surface to help with the next pour’s adhesion. Finally, I temporarily glued in some epoxy dams between the two logos to keep the epoxy from mixing too much before I was ready for it to.
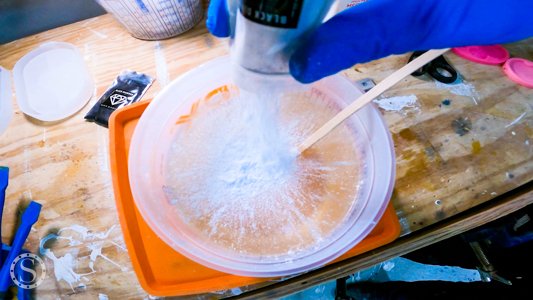
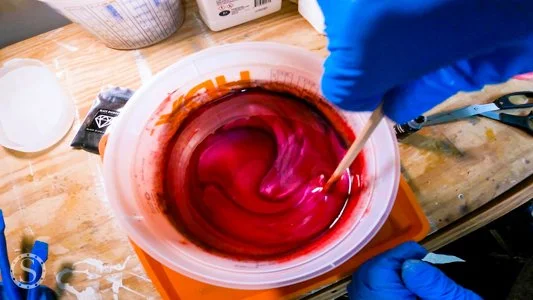
10 - Pour Epoxy Logos
The epoxy pour was by far the most nerve-wracking step. I prepped my epoxy pour in 2 buckets, adding some white mica pigment to one bucket and red to the other.
I poured white first, then poured in the red side, keeping them separate until I had enough to fill each side of the logo.

Once I poured both sides, I removed the dams and allowed the two colors to mix somewhat. I also returned with some additional white epoxy in a syringe to mix where the two colors collided.
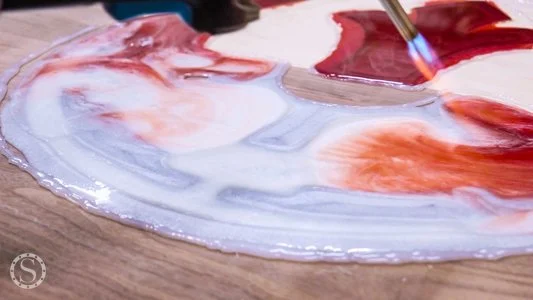
While the epoxy cured, I hit it a couple of times with my propane torch to pop bubbles that came to the surface. I also later had to slightly fill a couple of spots with a clear epoxy that was not level enough.
11 - Clean Up Logos
After a few days of cure time, the epoxy was ready to be cleaned up. I removed the hot glue and then spent a reasonable amount of time sanding everything down to 320. I wanted this desktop to be extremely smooth. While I didn’t film the sanding, it’s better to take your time here and get it right than run into issues with the finish.
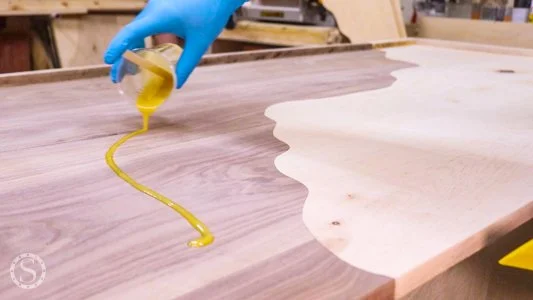
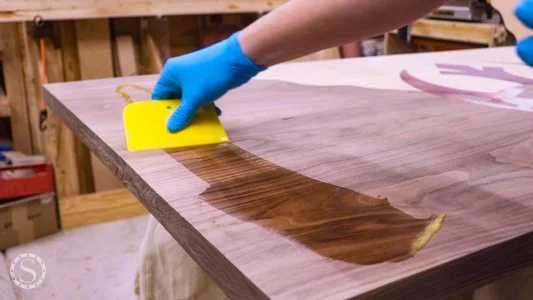
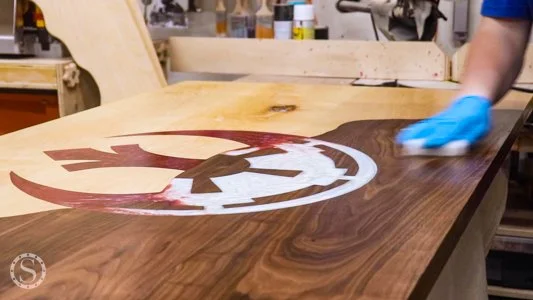
12 - Add Finish
I cleaned up the entire desktop with mineral spirits before applying Rubeo Monocoat. I spread it on and then buffed it with a scotch pad. After a bit, I wiped any excess off with a clean cotton rag.
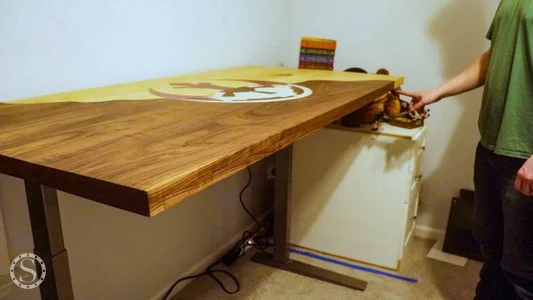
13 - Install Standing Desk Legs
Since the build was about the desktop, not the legs, I purchased mine and installed them according to the manufacturer’s specifications. I didn’t want to make my own standing legs, and the ones I bought were highly recommended. Once I installed the legs, it was time to start using my new, nerdy Star Wars desk!


Words cannot express how proud I am of this desktop. There were several “level unlock” moments during it where I really had to use my problem-solving maker brain to figure out what to do next. Tackling this project and having it go so well has given me some additional confidence to take on more projects with unique twists and themes in the future.

I also like using something every day that is from something I love (Star Wars) and is unique that someone else cannot buy.